How to set up your teams and organizations.

So you've created your Knowtworthy account and are ready to get started running amazing meetings! This guide will run you through the steps of setting up your first organization and teach you everything you need to know to get up and running in as little time as possible.
What you will need:
- Any Knowtworthy Plan and a created organization
- Have administrator permissions to your organization
Step 1: Head over to organization settings
First, click the gear icon in the menu on the left-hand side of your screen (or bottom if on mobile).
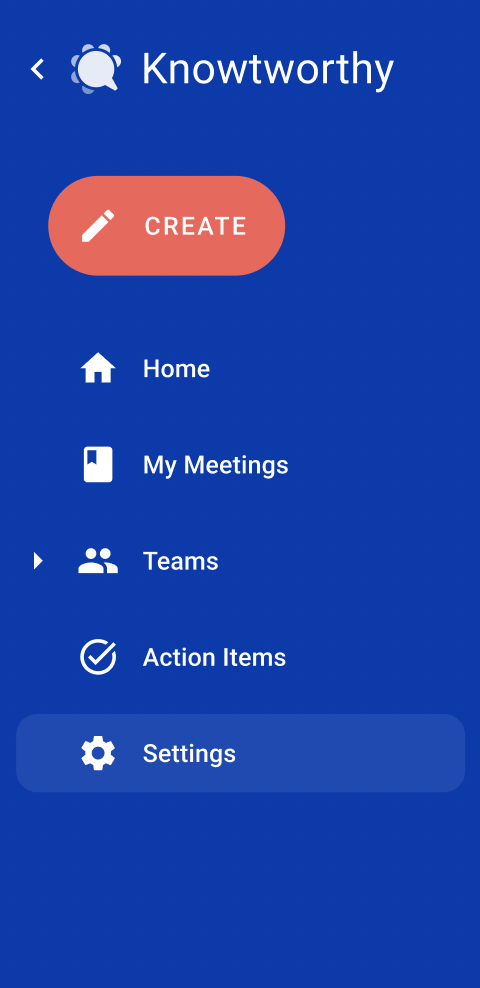
Next, click on "Organization Settings" next to your organization as shown in the image below, and you will be taken to your organization's control panel. You will see a number of options here, and we'll go through what each one does.
Step 2: Add your coworkers
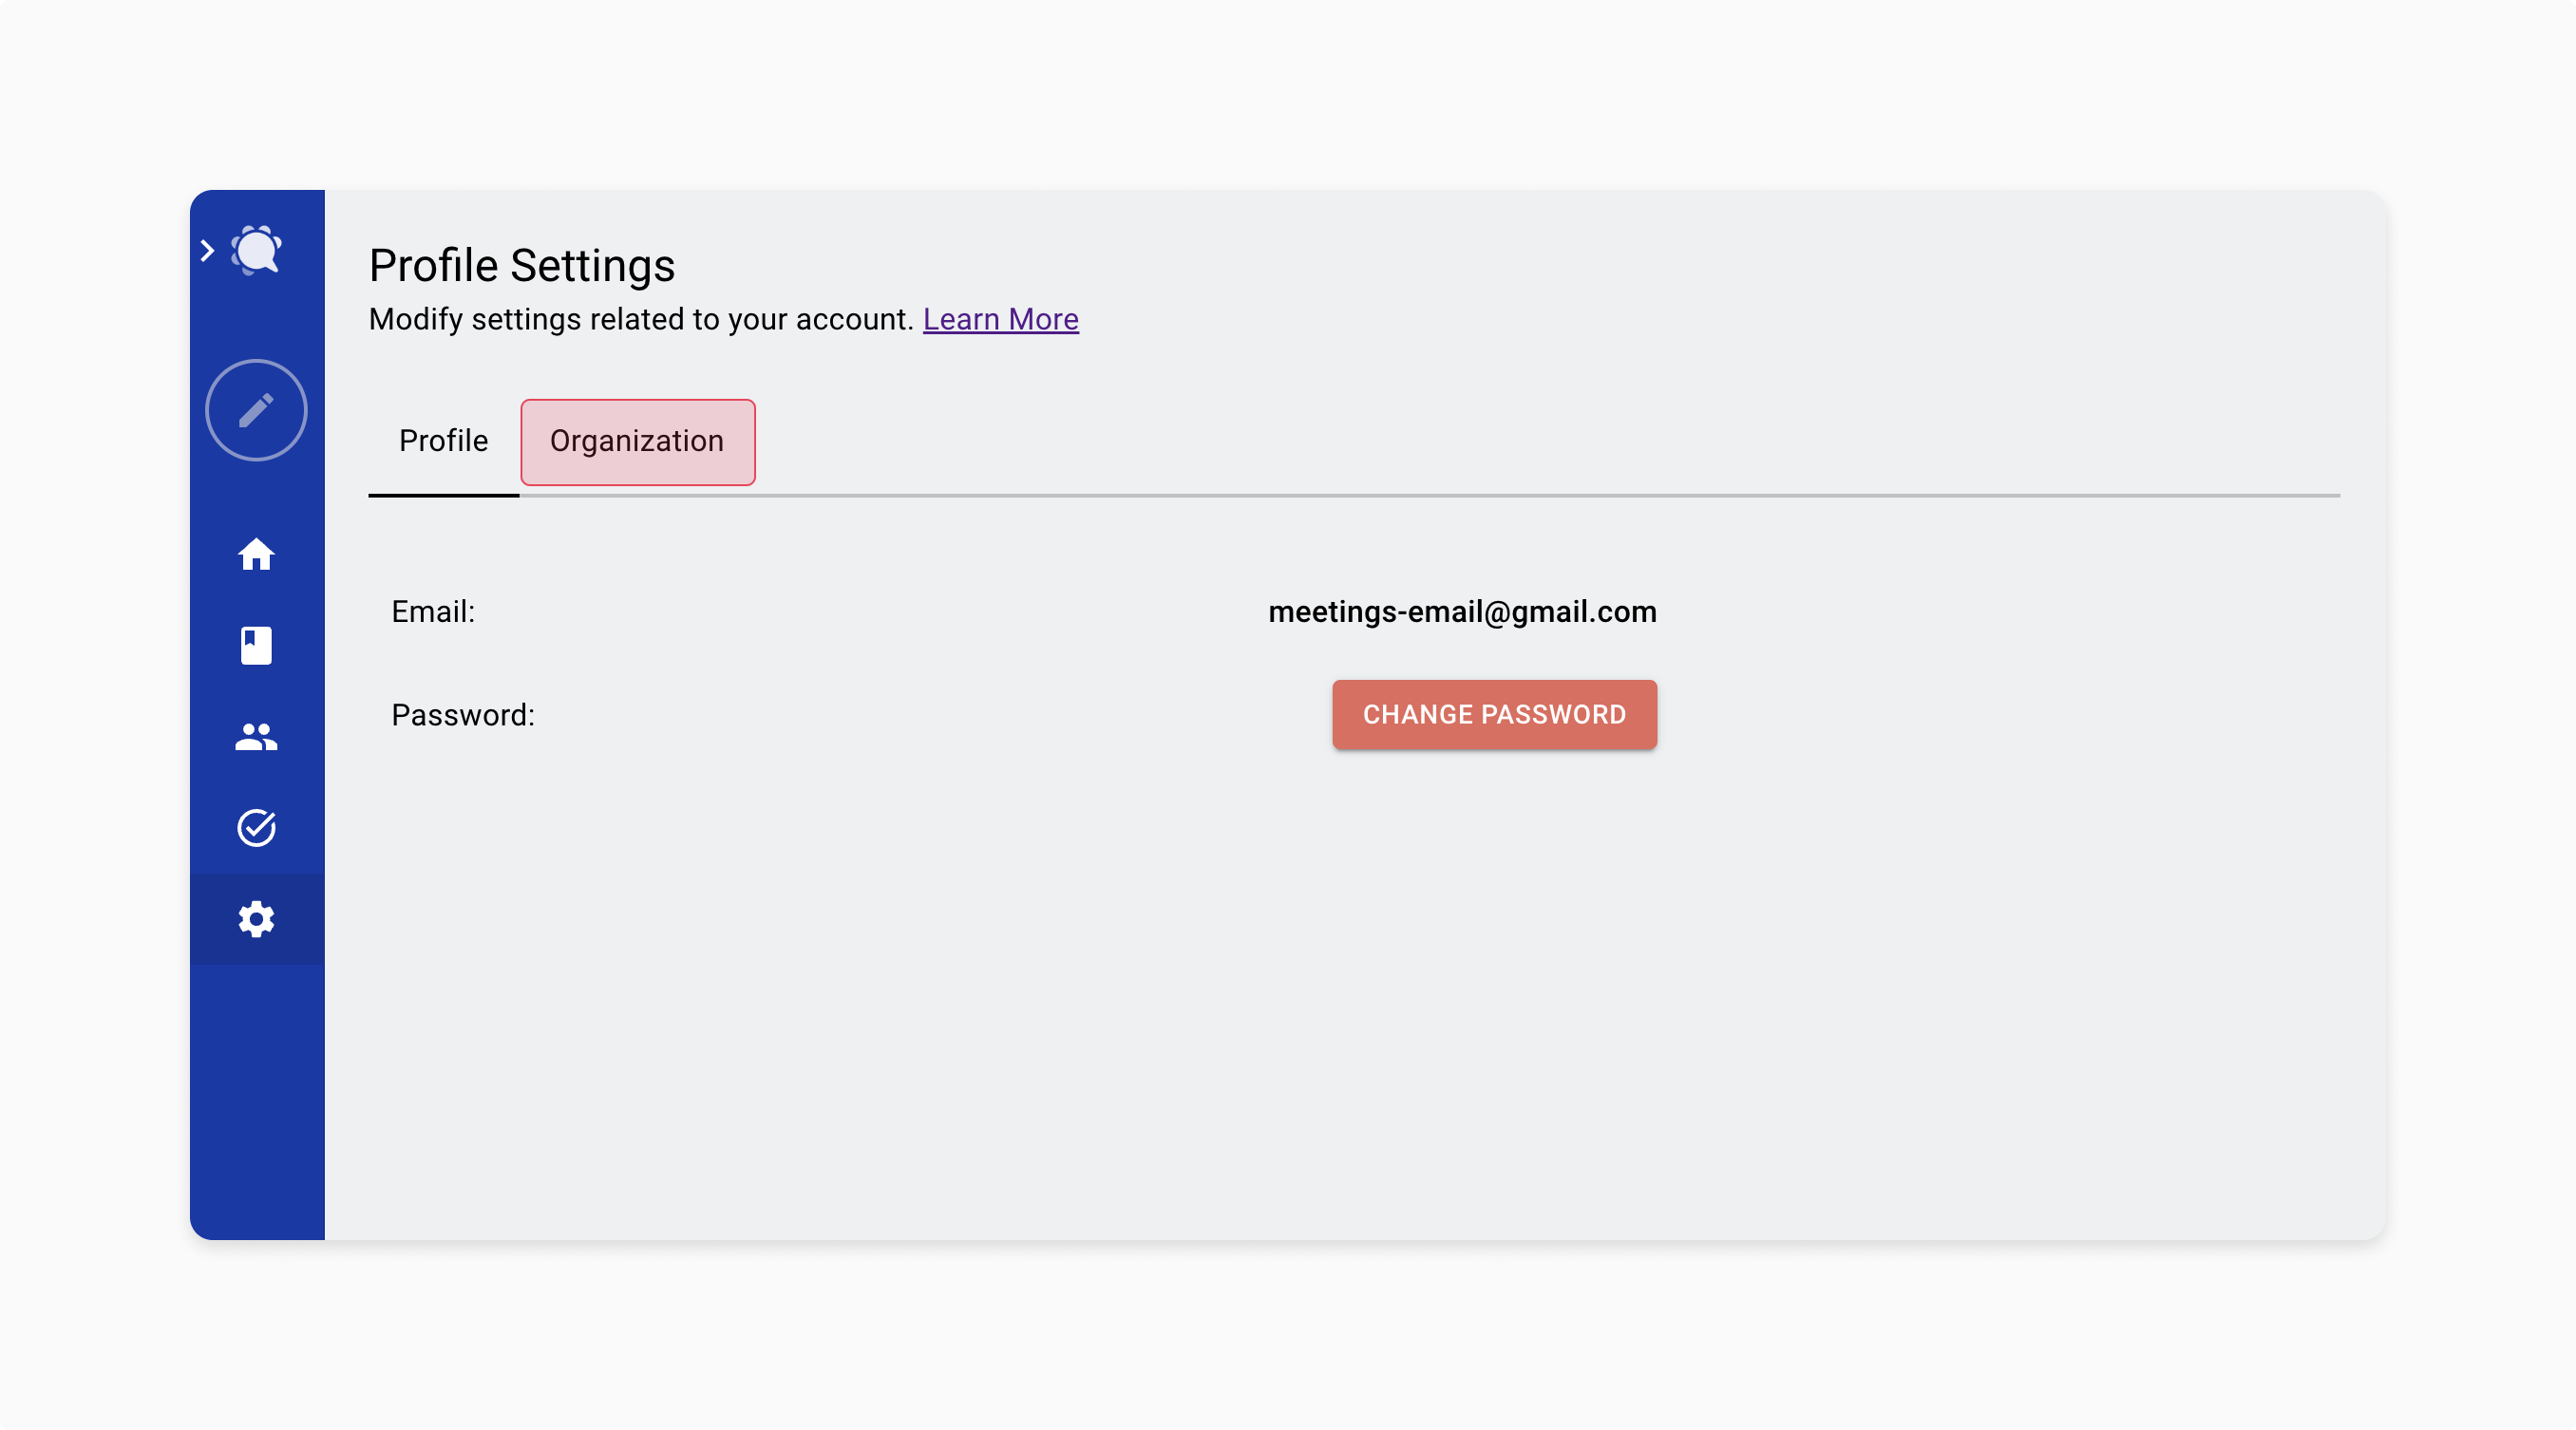
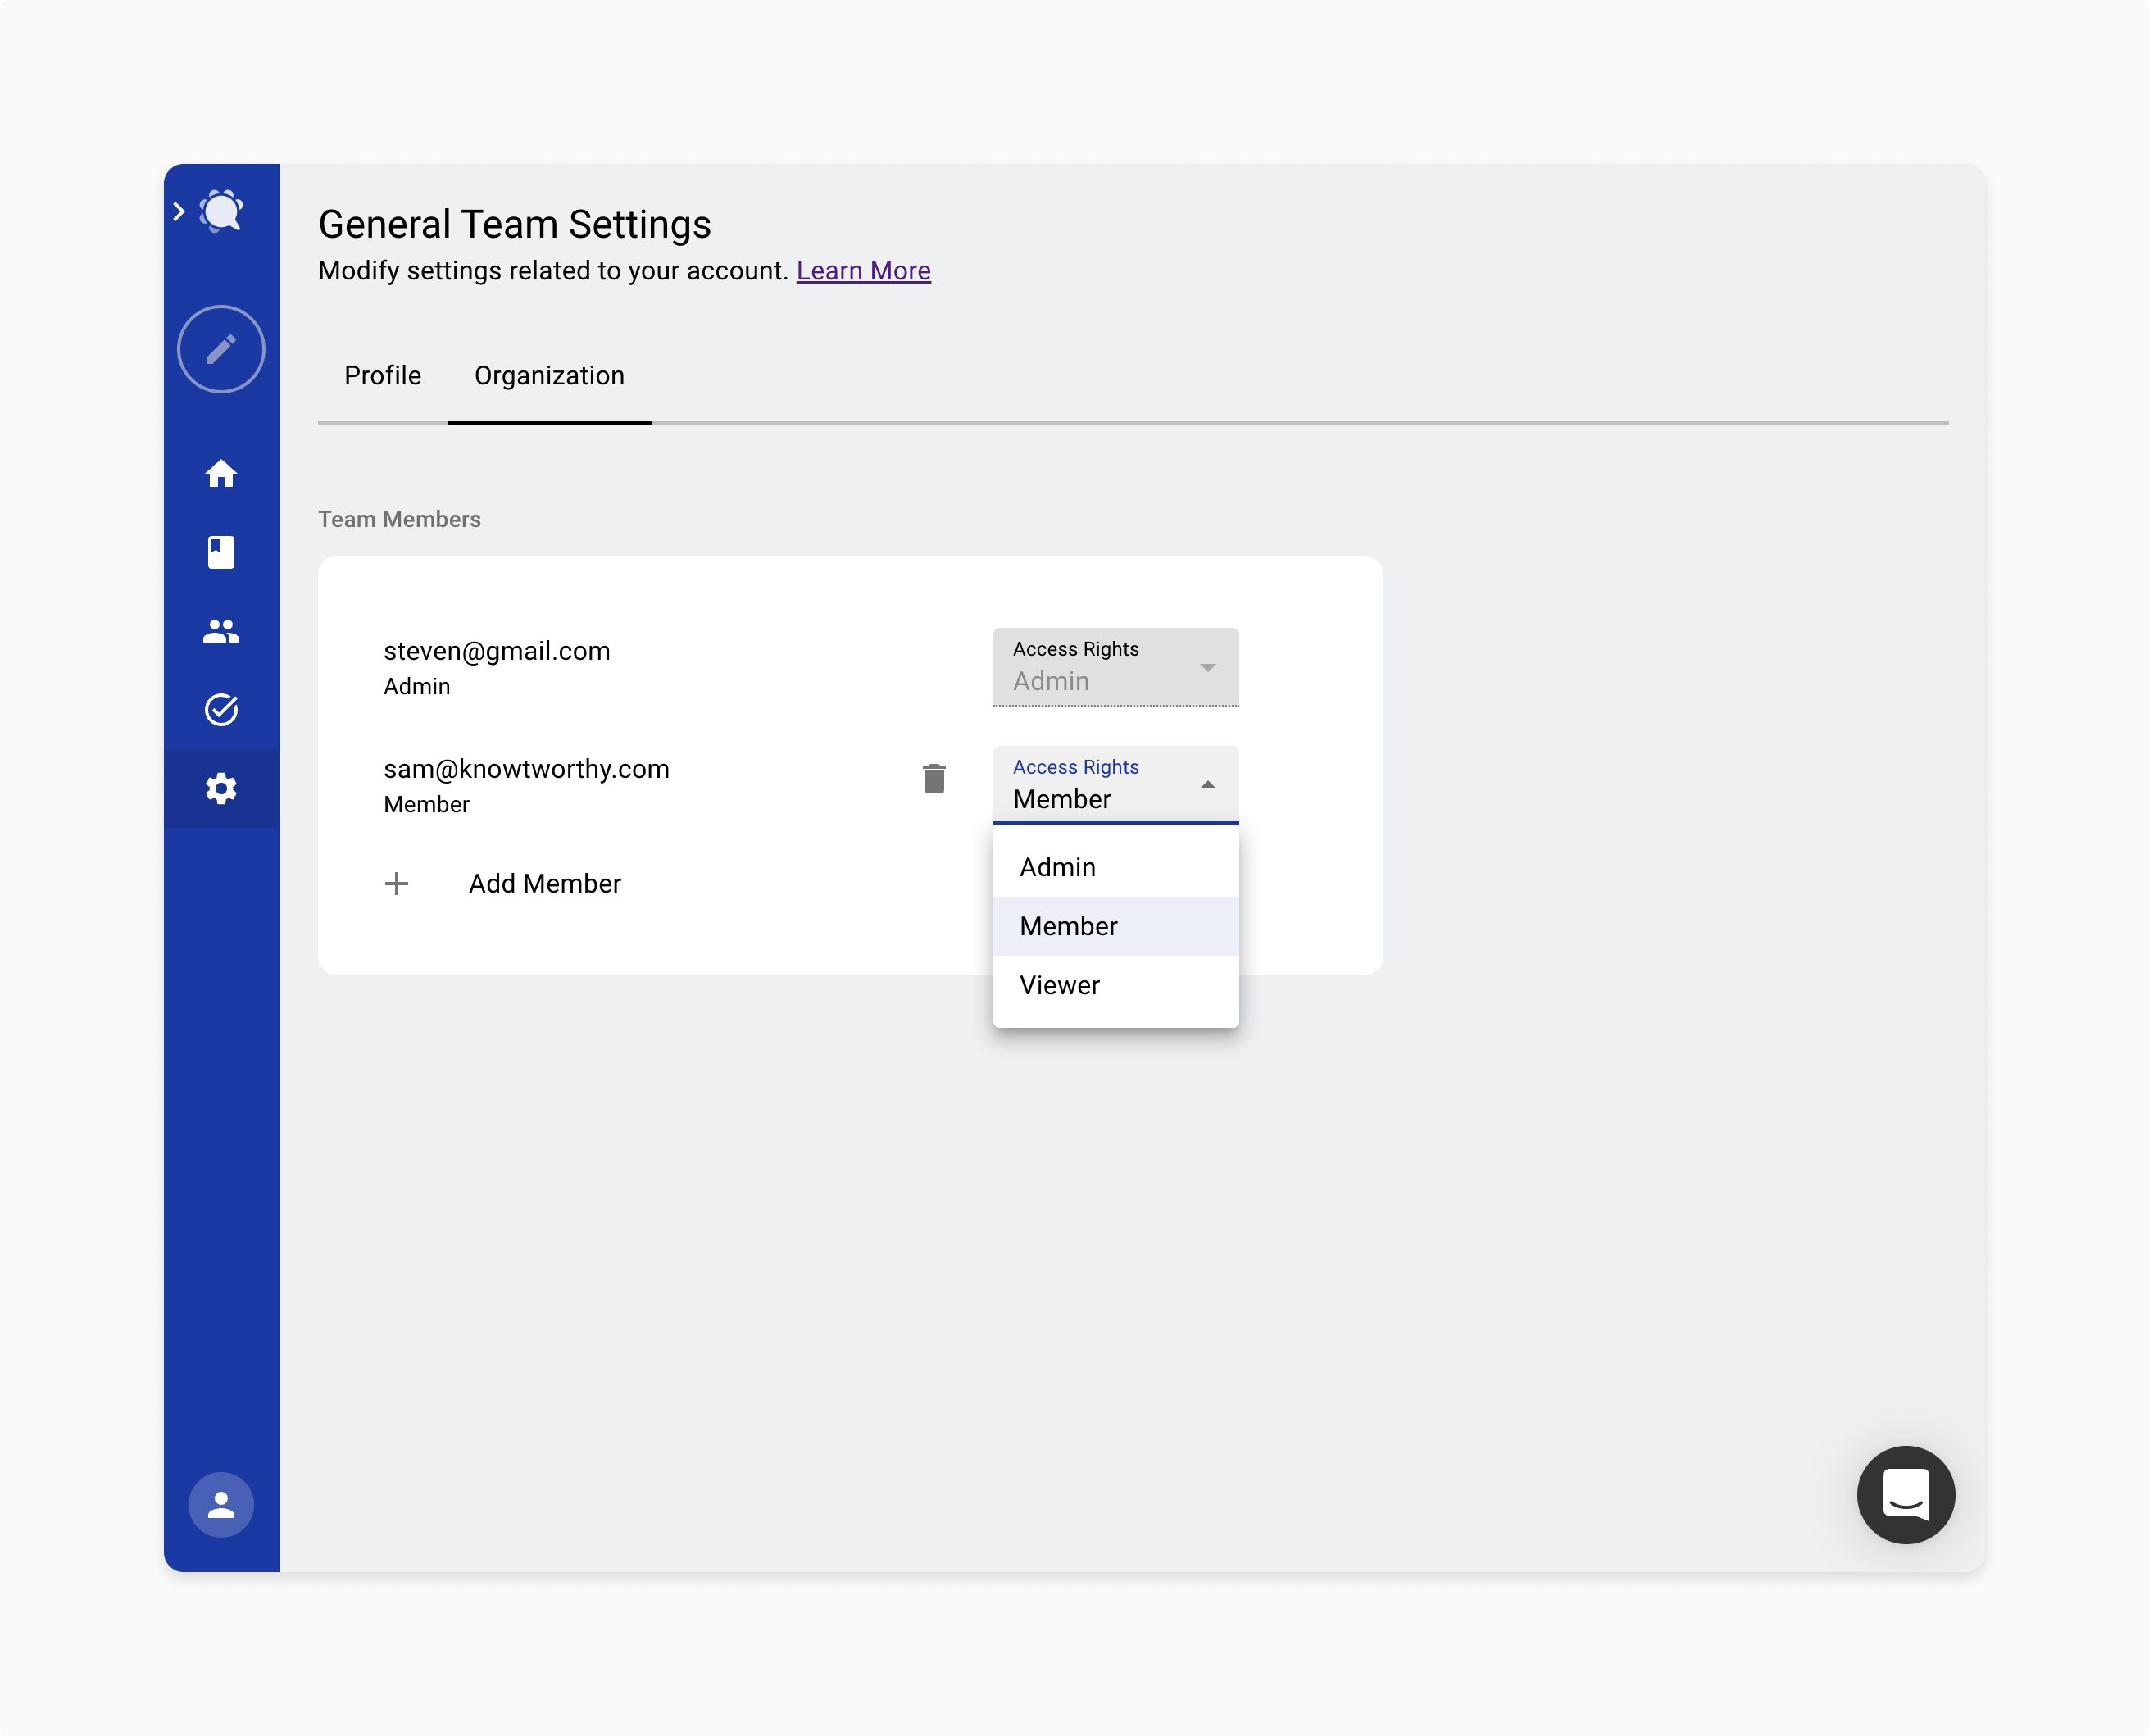
To add a coworker to your organization, click "Manage Members" as shown below. You will be taken to a page where you will see that you are already a member of your organization. Below this, press "Add Member" followed by entering in the email of your coworker and an assigned role. The three possible roles are as follows:
Admin: This allows the selected coworker to enjoy the same access as you have on the Knowtworthy platform. They will be able to access managerial features such as changing the transcription language for the organization and being able to monitor all outstanding action items for each team.
Member: This role gives your coworker the ability to create folders and meetings within teams and edit meeting information as needed. Members cannot make important changes to the organization as a whole and cannot delete teams, despite being able to create new teams to reduce admin overhead.
Viewer: This role gives a particular coworker 'view only' privileges to your organization. They cannot create any documents and they cannot participate in meetings but they can view meeting minute content. This is the role you want to assign to consultants or individuals transiently involved with a particular team.
Once you add your coworkers, they will receive an automated email invite and will have the opportunity to create an account with Knowtworthy. Their access will be free as you are the organization owner and dictate the plan that the entire organization uses.
Step 3: Set your transcription language (Premium and Business Plans Only)
Below the members section that you just configured, you will see the Transcription Language field pre-populated with the default language: US English. Should you want both your real-time transcription and file-upload transcription to make use of a different language, please click on this field and view the options that Knowtworthy offers. We are always adding more language support, so if you don't see the language you use in the workplace, please request in by posting on our community page: https://community.knowtworthy.com/. You can view a guide dedicated to changing your transcription language settings here: https://knowtworthy.com/guide/how-to-set-your-transcription-language/
Step 4: Create Teams and add members
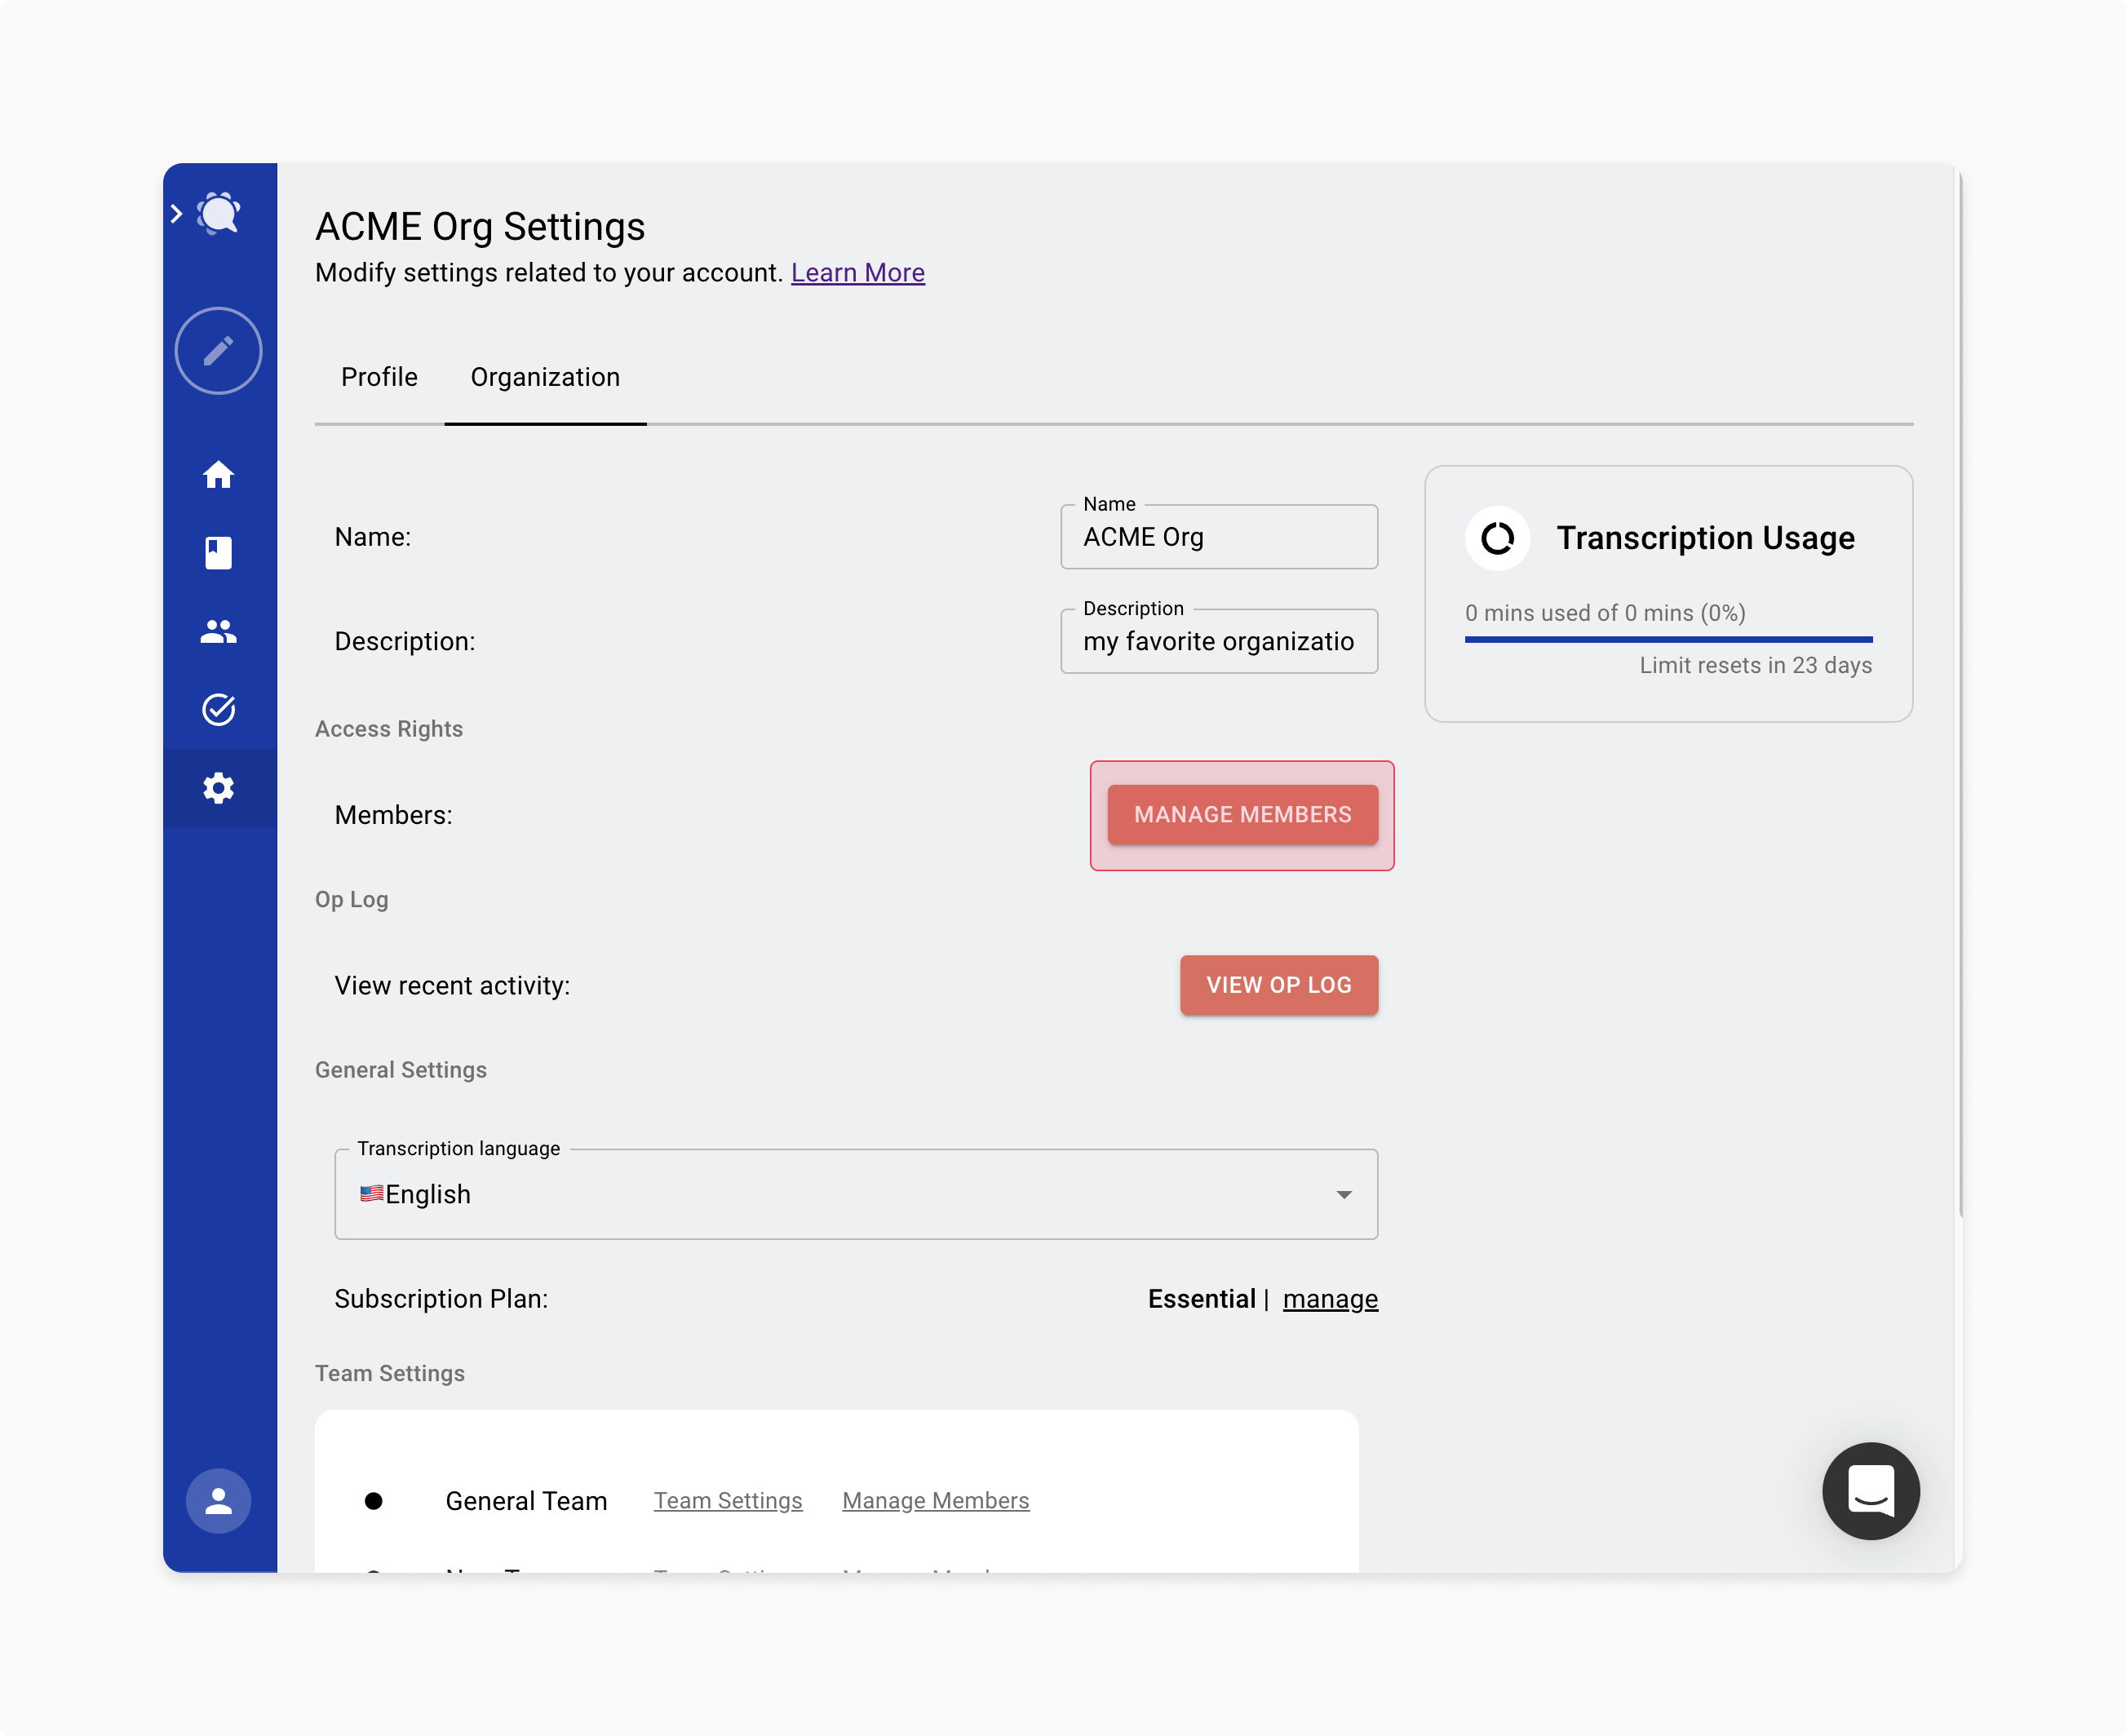
Though this is optional and you can make use of just the "General" team, we strongly recommend that you create teams for the different teams and functions that occur within your organization. For example, you might want to have a team dedicated to "Sales" and another dedicated to "Development". To create a new team, simply press the "Create Team" button as seen in the screenshot below.
This will open a popup where you can enter a Team Name, along with the emails of any team admins or team members that you would like in this team. Notice that you are already added as an admin to this team. As with organizations, you can create viewers, but this needs to be configured from the team settings page after the team is created. The privileges open to the three groups are as follows:
Admins will be able to modify the team, add new members, remove members, and create documents.
Members will be able to create and edit folders, and meeting documents, but cannot modify the team's settings and add more coworkers.
Viewers can only view the contents of a certain team's folders and meetings, but cannot edit anything.
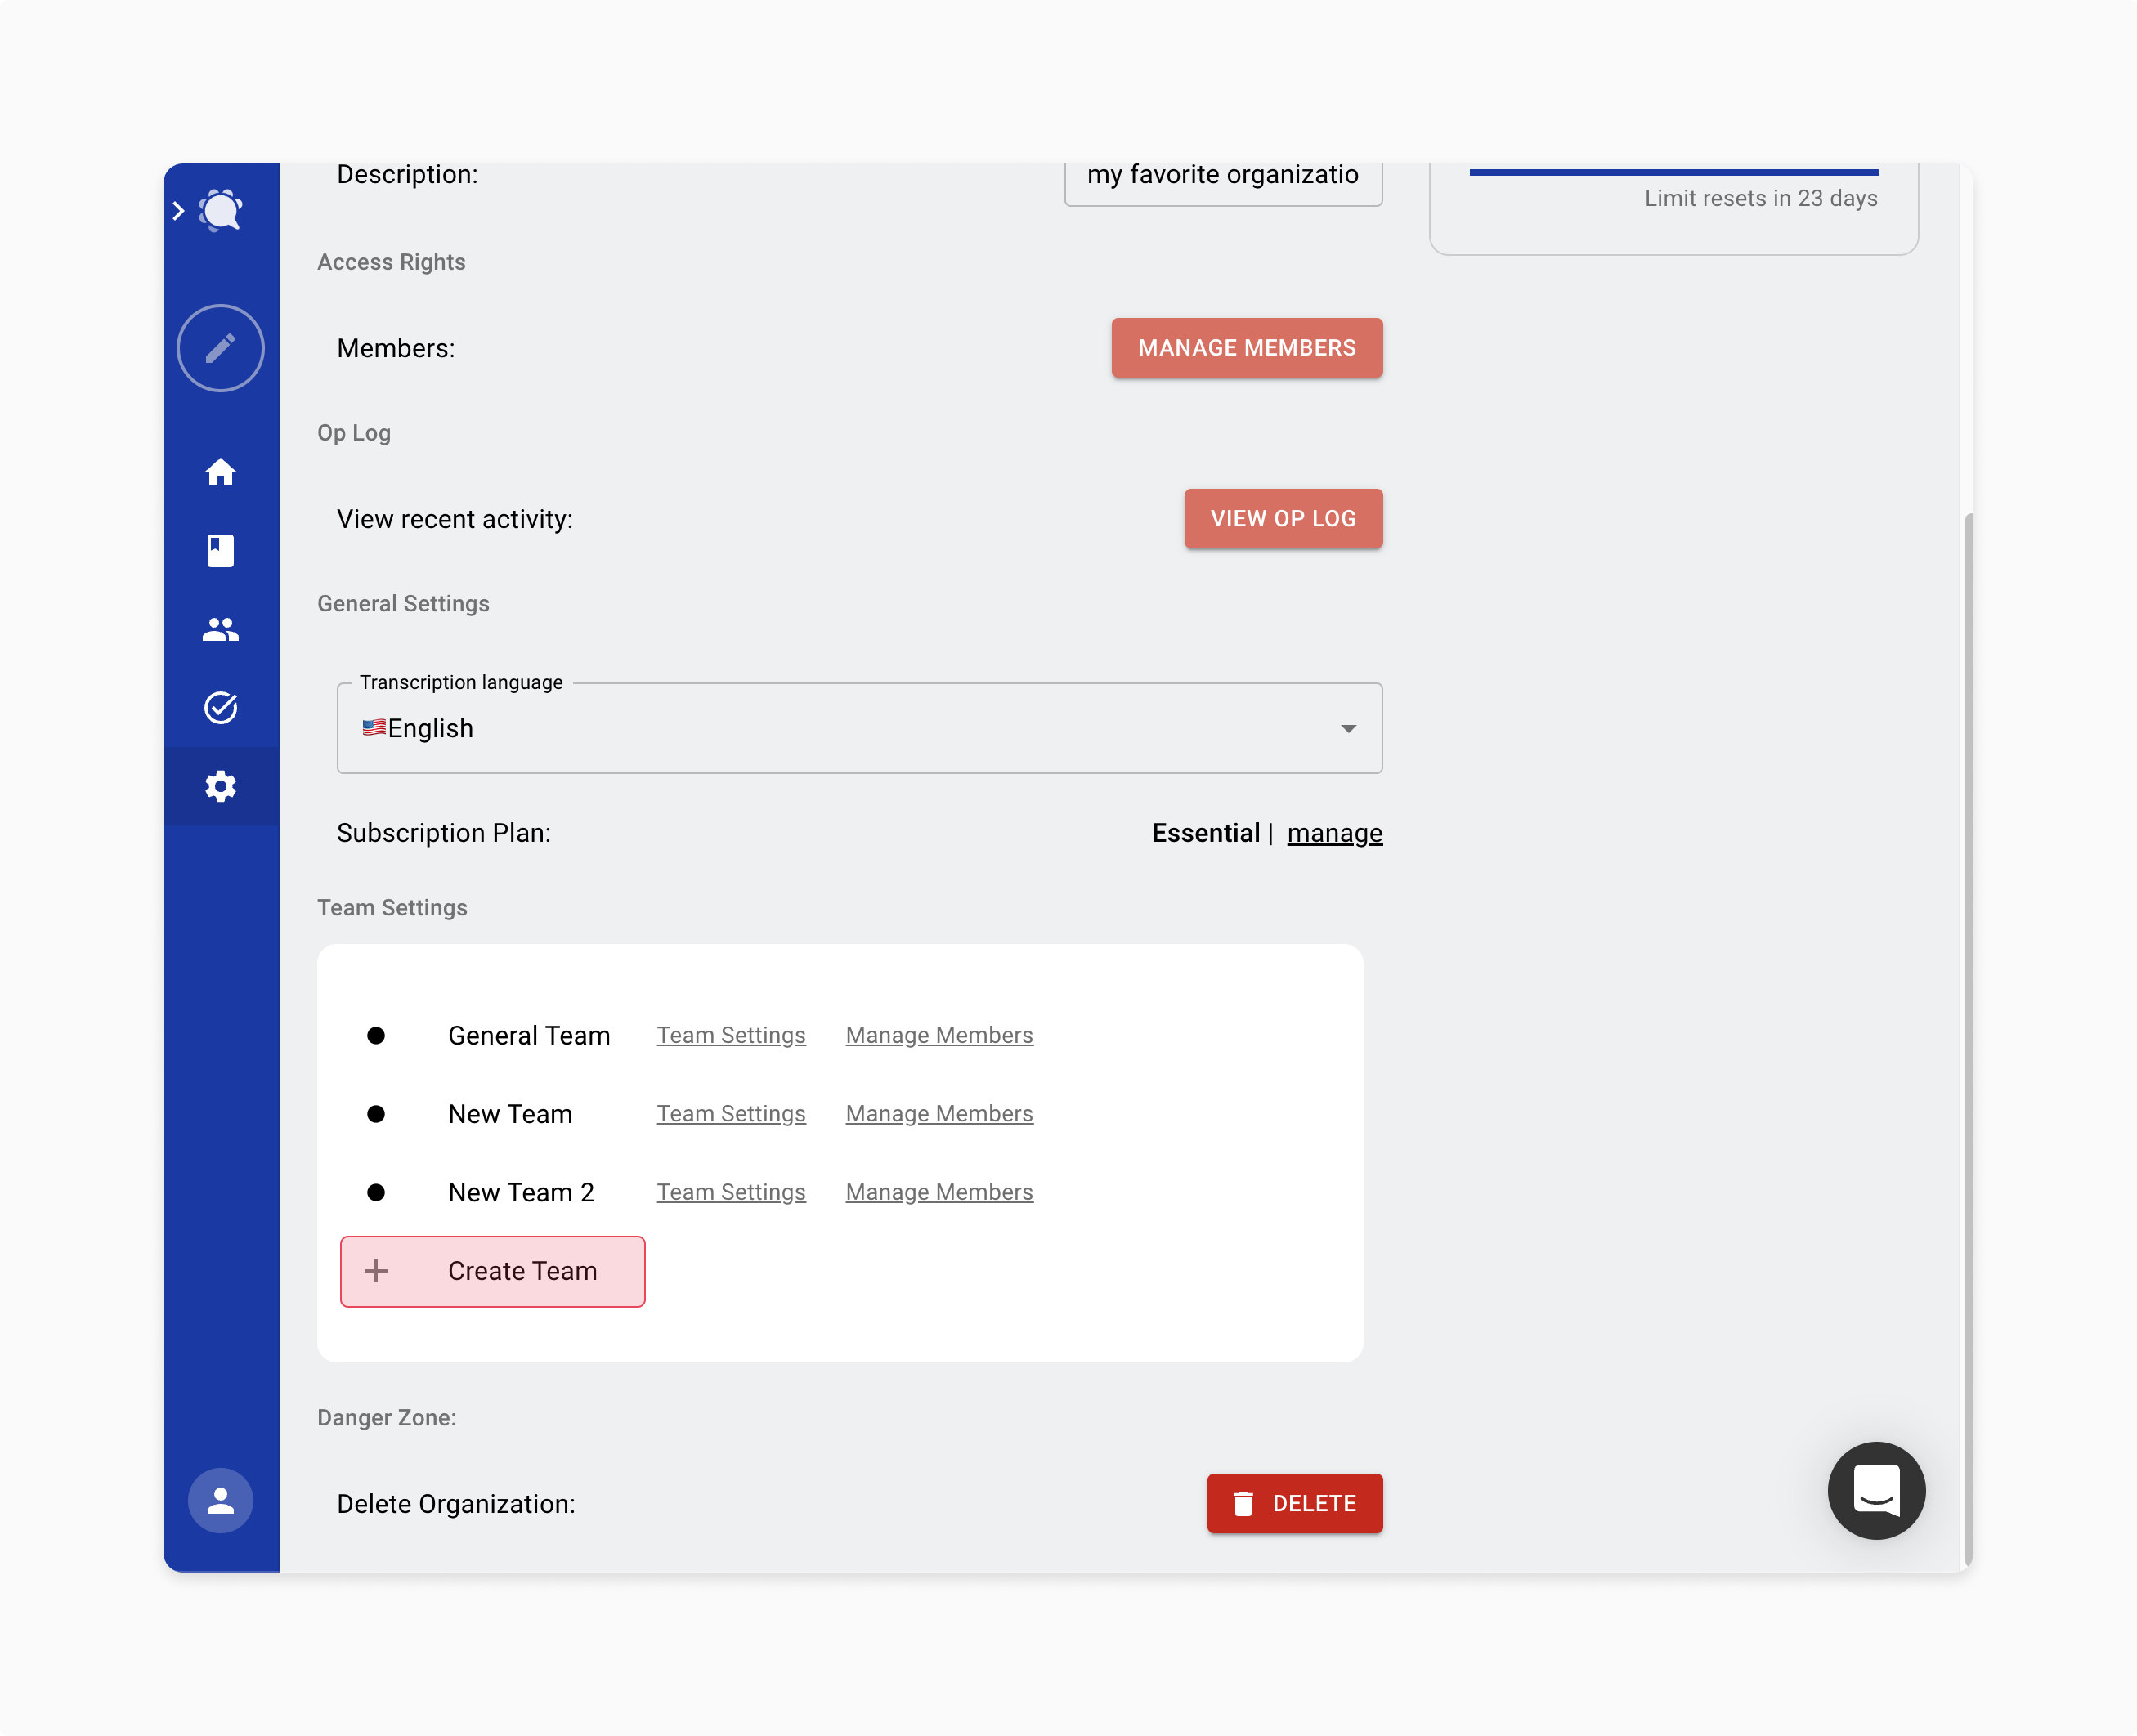
Once you hit "Create" the popup will close but you will see the new team under "Team Settings". From here, you can click "Team Settings" or "Manage Members" to continue modifying the team. As with organizations, automated emails will be sent out to your coworkers with their invite to the particular team. If you click "Manage Members", you will be able to see which of the invited coworkers have accepted their invitation and now have Knowtworthy accounts denoted by an icon next to their name and role as shown below.
Step 5: Create a meeting in one of your teams and start improving your productivity!
At this point, you are all done setting up your organization and your teams, and you can go on to create the files and folders that you need within each team. To do this, simply click on the "Home" icon on your menu bar, select the team that you want to create your meeting in, and hover over the orange "Create" button with the pen in your menu bar to select if you want to create a new folder or meeting. Select "New Meeting", and you're done! You will be navigated to your new meeting document where you can plan your next productive meeting.
Thank you for following along with this guide to get your first organization and team set up with Knowtworthy. If you have any questions, please post them over on the thread for this page on our community page and we will get back to you as soon as possible!