Making the most of your meeting minutes.
After setting up your organizations and teams, it's time to create and draft your first meeting! This guide will take you through the basics of what you need to know to create a great meeting minutes document right off the bat.
What you will need:
- Any Knowtworthy Plan and a created Team
- Be a member or admin of the Team
Step 1: Creating a meeting and adding meeting details
Start off by selecting the team where you want to make your meeting. You can do this by clicking the "Team" icon in the menu bar, and selecting a particular team, or by clicking "Home" followed by one of the teams on screen.
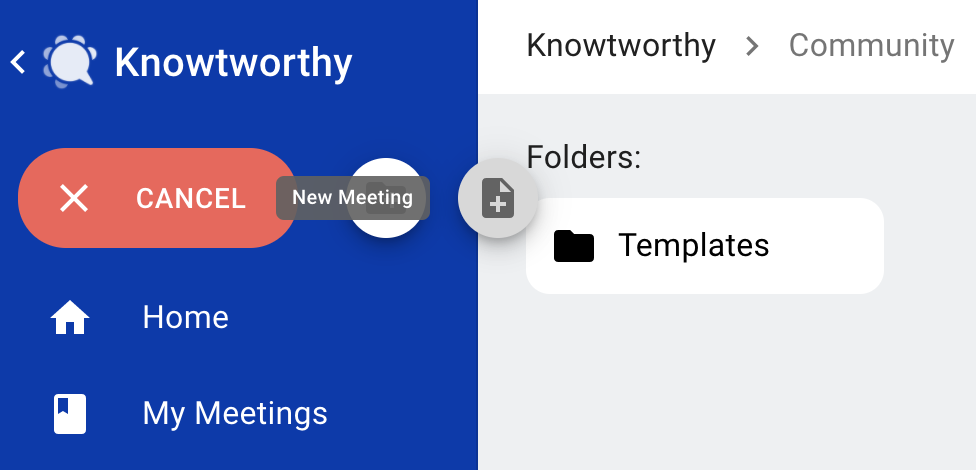
From here, hover over (or click on mobile) the big orange "Create" button in the navigation menu and select "New Meeting" as shown below.
This will open up a new tab with your meeting ready to go. This meeting will be automatically visible to everyone in this team, so you don't need to go out of your way to share it with team members.
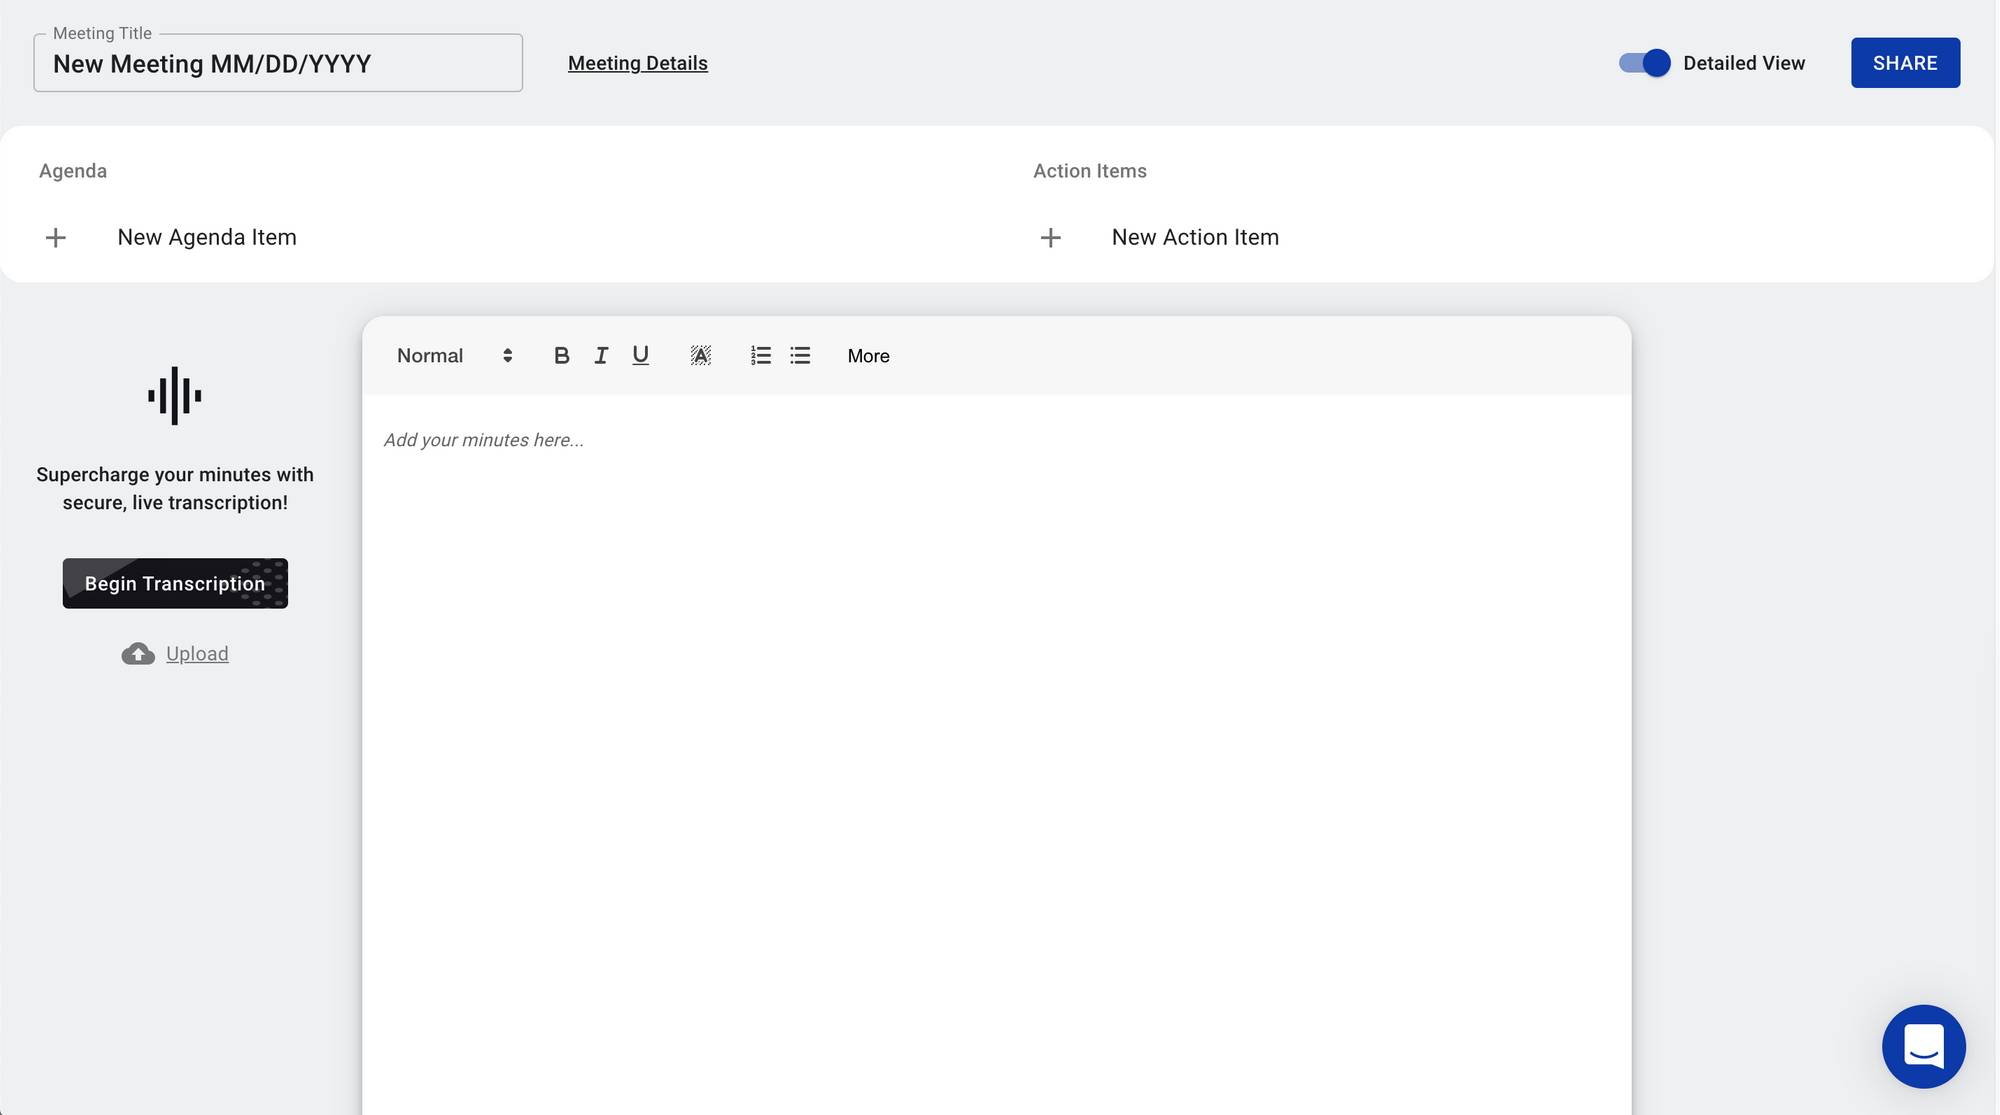
You will be greeted with a clean slate for your first meeting, organized in a highly effective meeting format that should help you get things off the ground quickly.
First, go ahead and replace the title in the top left corner with something specific and informative for your meeting. Next, click on Meeting Details button and set the objective, meeting time, and (if necessary) the location. From here, we also recommend that you add the relevant participants to your meeting ahead of time.
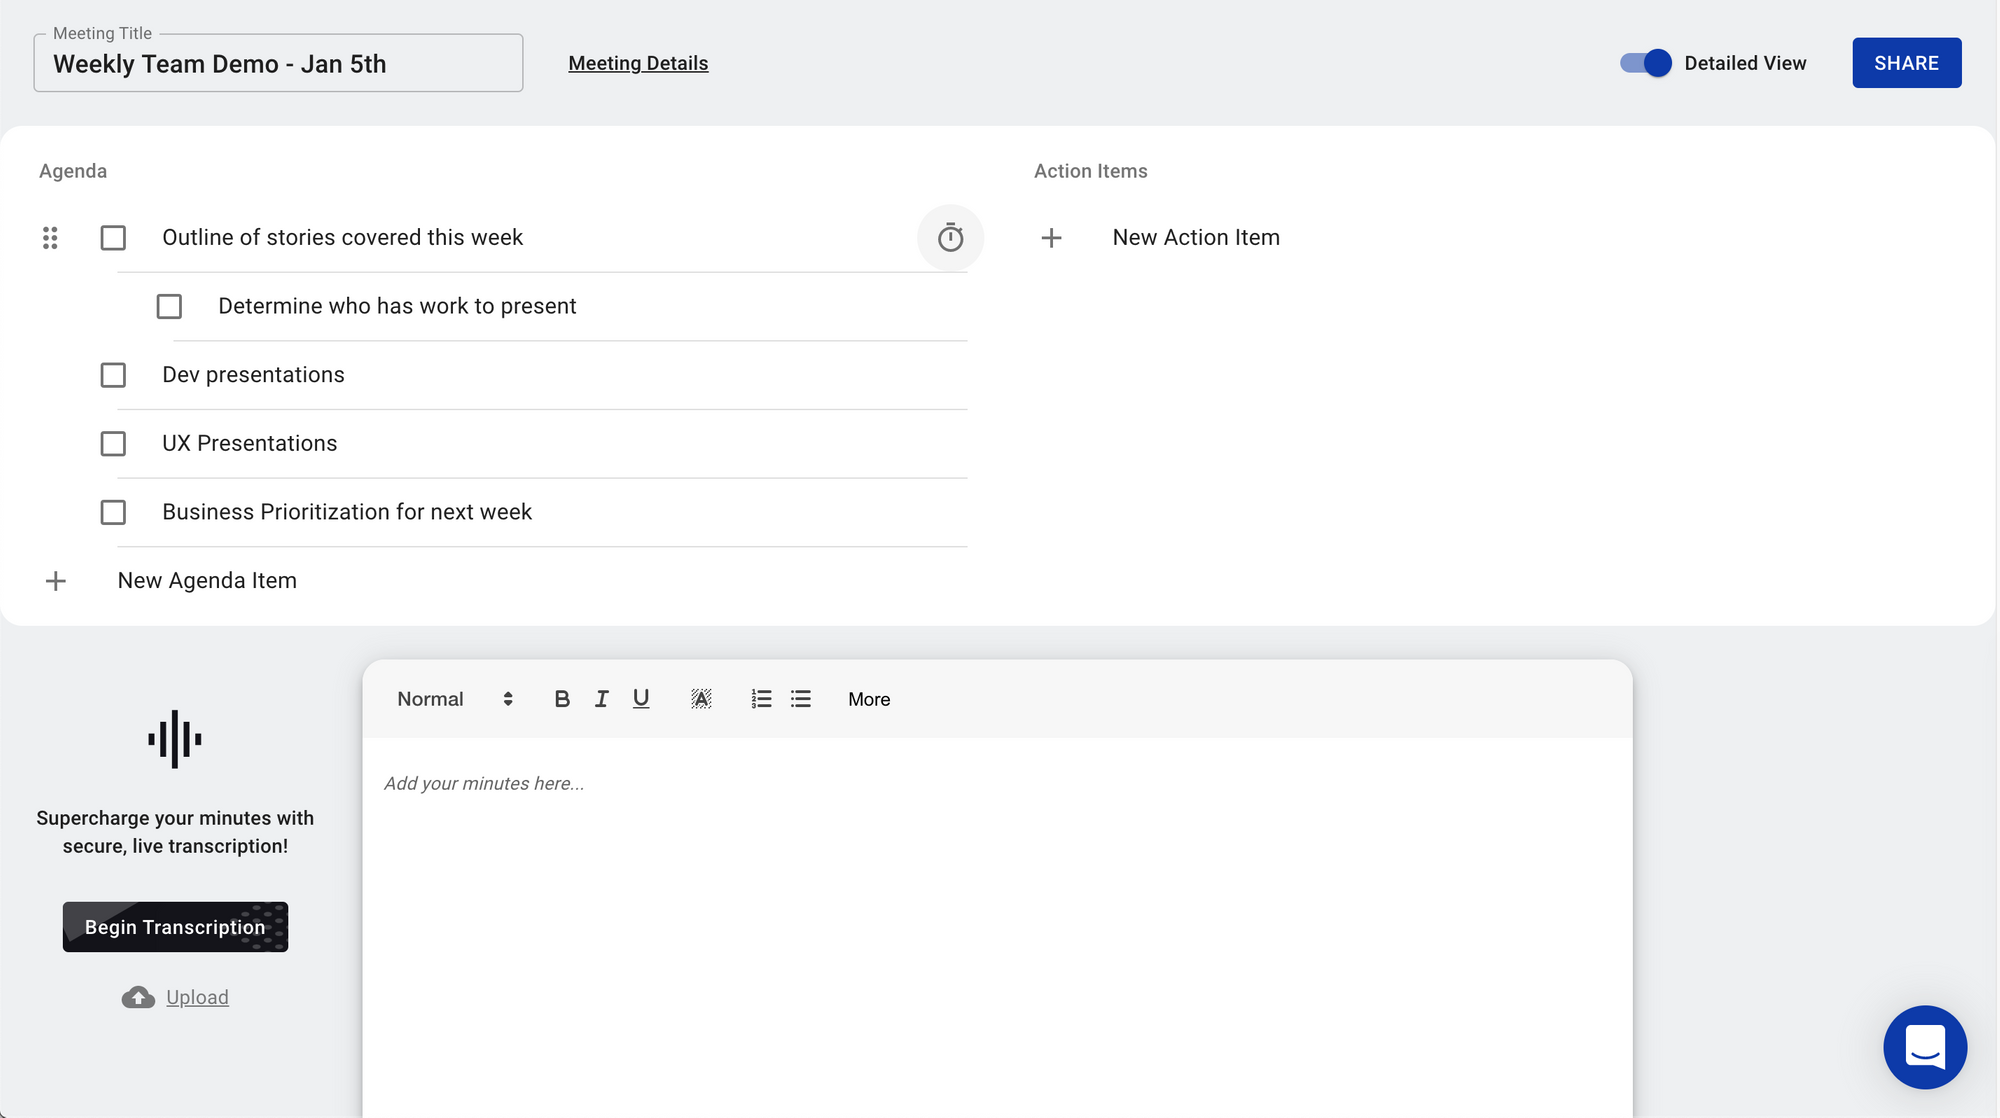
Step 2: Craft a great agenda
A great agenda can make or break a productive meeting, so the meeting template gives you a dedicated space to create agenda items along with allocating time for each item. We've gone in-depth into what you should keep in mind while crafting a highly effective agenda here, but in short, outline the points that you need to touch upon in your meeting and consider allotting time to each point with Knowtworthy's built in agenda item timer.
Step 3: Share the meeting with coworkers
The last step before the meeting is to share the meeting with the relevant people. If your team knows where to look on the Knowtworthy platform with their accounts, then you can skip this step as they will see this meeting in the relevant team automatically. Another popular option is to press "Share Meeting" and add the generated link into the meeting's calendar invite so that attendees can quickly locate the meeting and join right away.
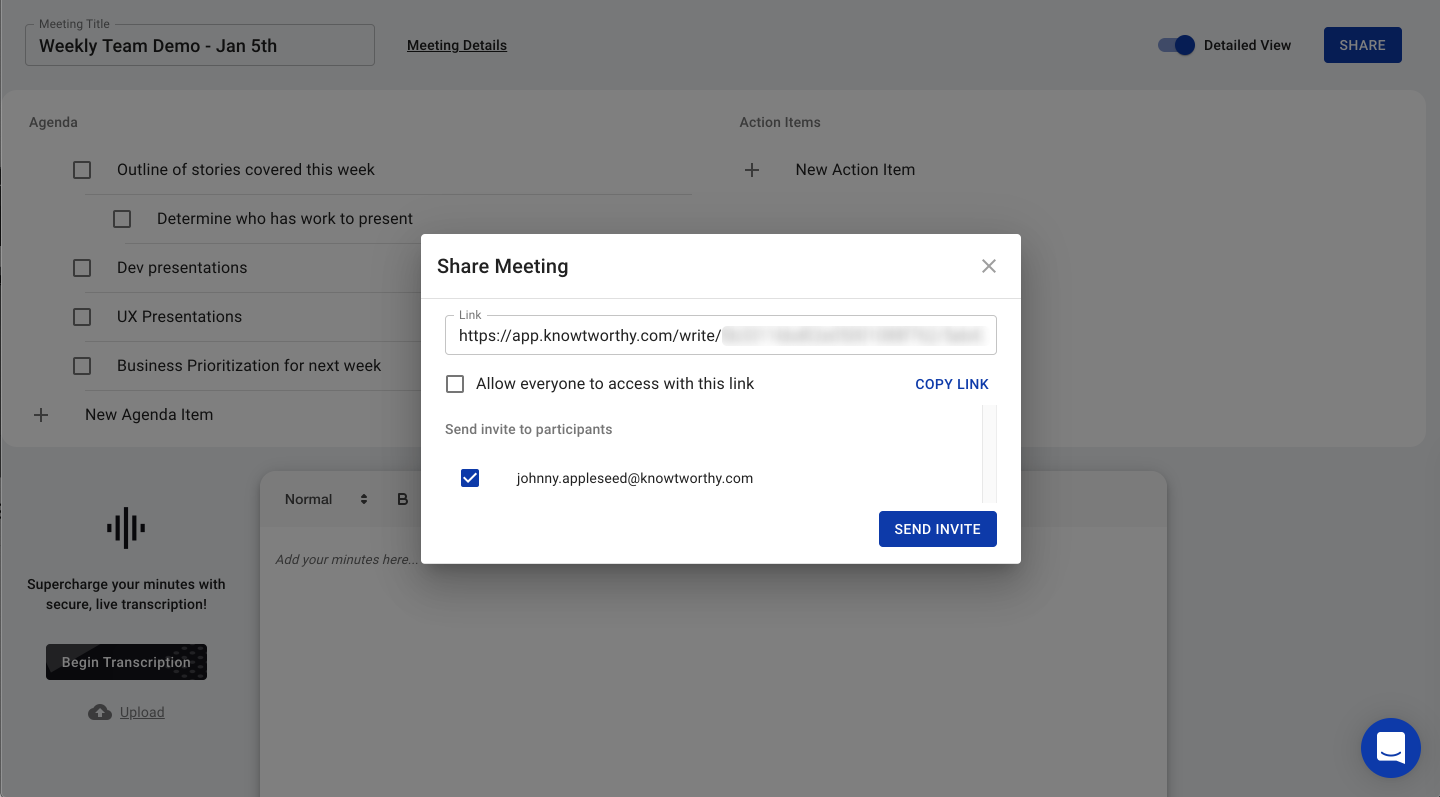
All Knowtworthy templates share automatically and in real-time, so everyone on your team will see any changes made to this template without you needing to manage different versions. This means that you can ask teammates to add any information they want to do the agenda or meeting minutes document before the meeting. Gone are the days of back and forth email confirmations about upcoming meeting agendas!
At this point, you are all set to have your meeting. The steps ahead will outline everything you need to know to make the most of Knowtworthy during the meeting.
During the Meeting
These last two steps will talk about the tools that Knowtworthy equips you with during your meetings to make your life easier.
Step 4: Writing meeting minutes (with real-time transcription)
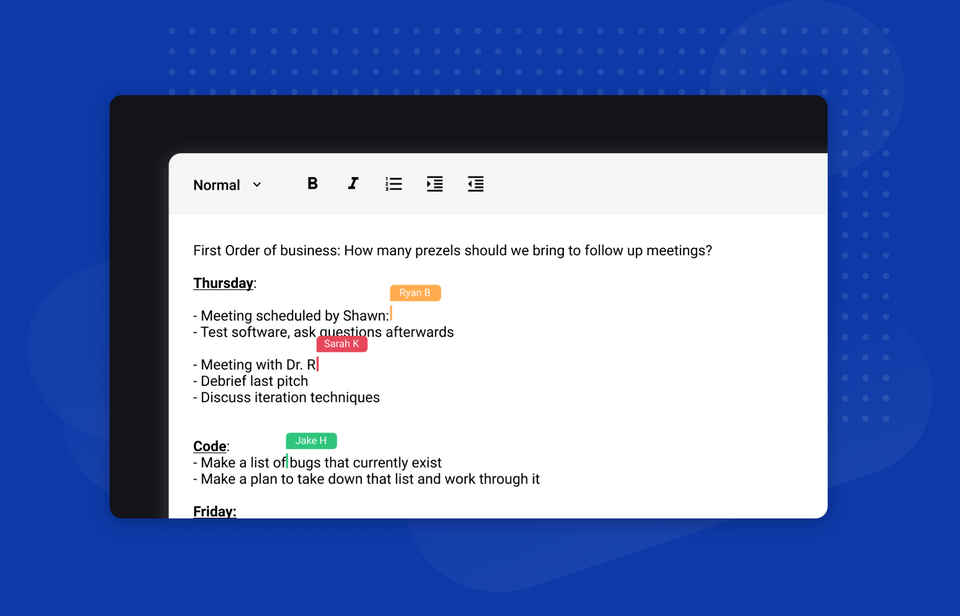
Writing meeting minutes can be a collaborative effort in Knowtworthy's meeting minute canvas. Others in the meeting can contribute if they like, similarly to how your teammates can add agenda and action items. You can also see who is editing the document in real-time as they make changes.
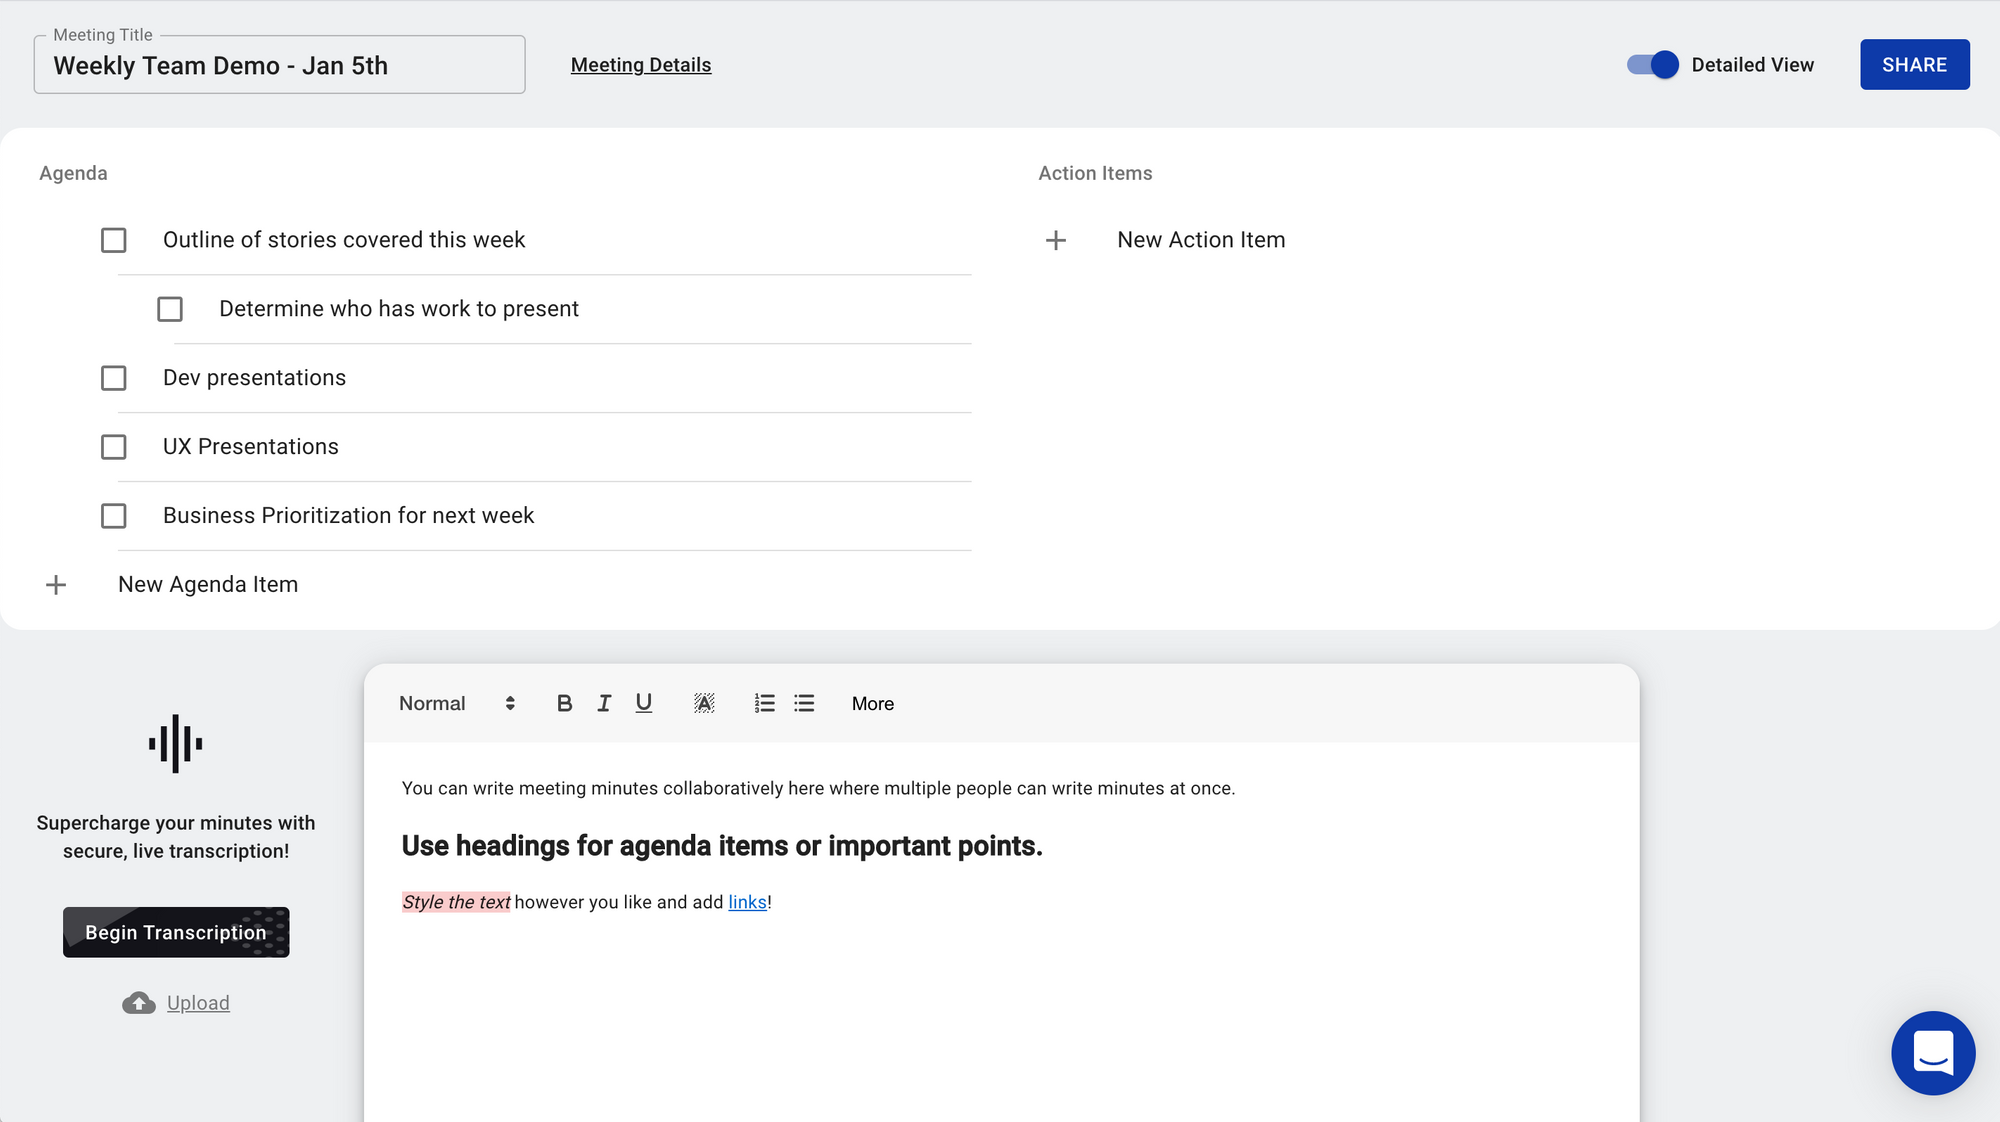
If you have a premium or business plan, you will also be able to transcribe your meeting in real time in the language of choice to help you take better minutes. To do this, simply hit "Begin Transcription" and the play button and the speaker-diarized transcription will start using your microphone. This feature is particularly useful if the meeting is moving along quickly and you don't quite have enough time to write everything down. You can even copy and paste certain sentences or phrases from the transcripts into the meeting notes directly - saving you time.

Alternatively, you can also hit "Upload" underneath the "Begin Transcription" button and upload a video or audio file for Knowtworthy to transcribe automatically! This is very useful if you have a recorded zoom, teams, or other video conferencing call and you want it transcribed to allow those not in attendance to quickly look over the meeting and catch up. This also serves as a great memory aid for revisiting an important call later down the line.
In the interest of keeping your meetings completely secure, the real-time transcripts will be automatically deleted when you close the meeting minutes document and are never stored anywhere (if you reload the page all the real-time transcripts will be wiped!) However, the file upload transcripts will be attached to this meeting document to allow you to revisit them as needed.
Step 5: Creating and tracking action items
Action items are critical to running a good meeting and without a list of actions that you can track and revisit later, your team might not be nearly as productive.
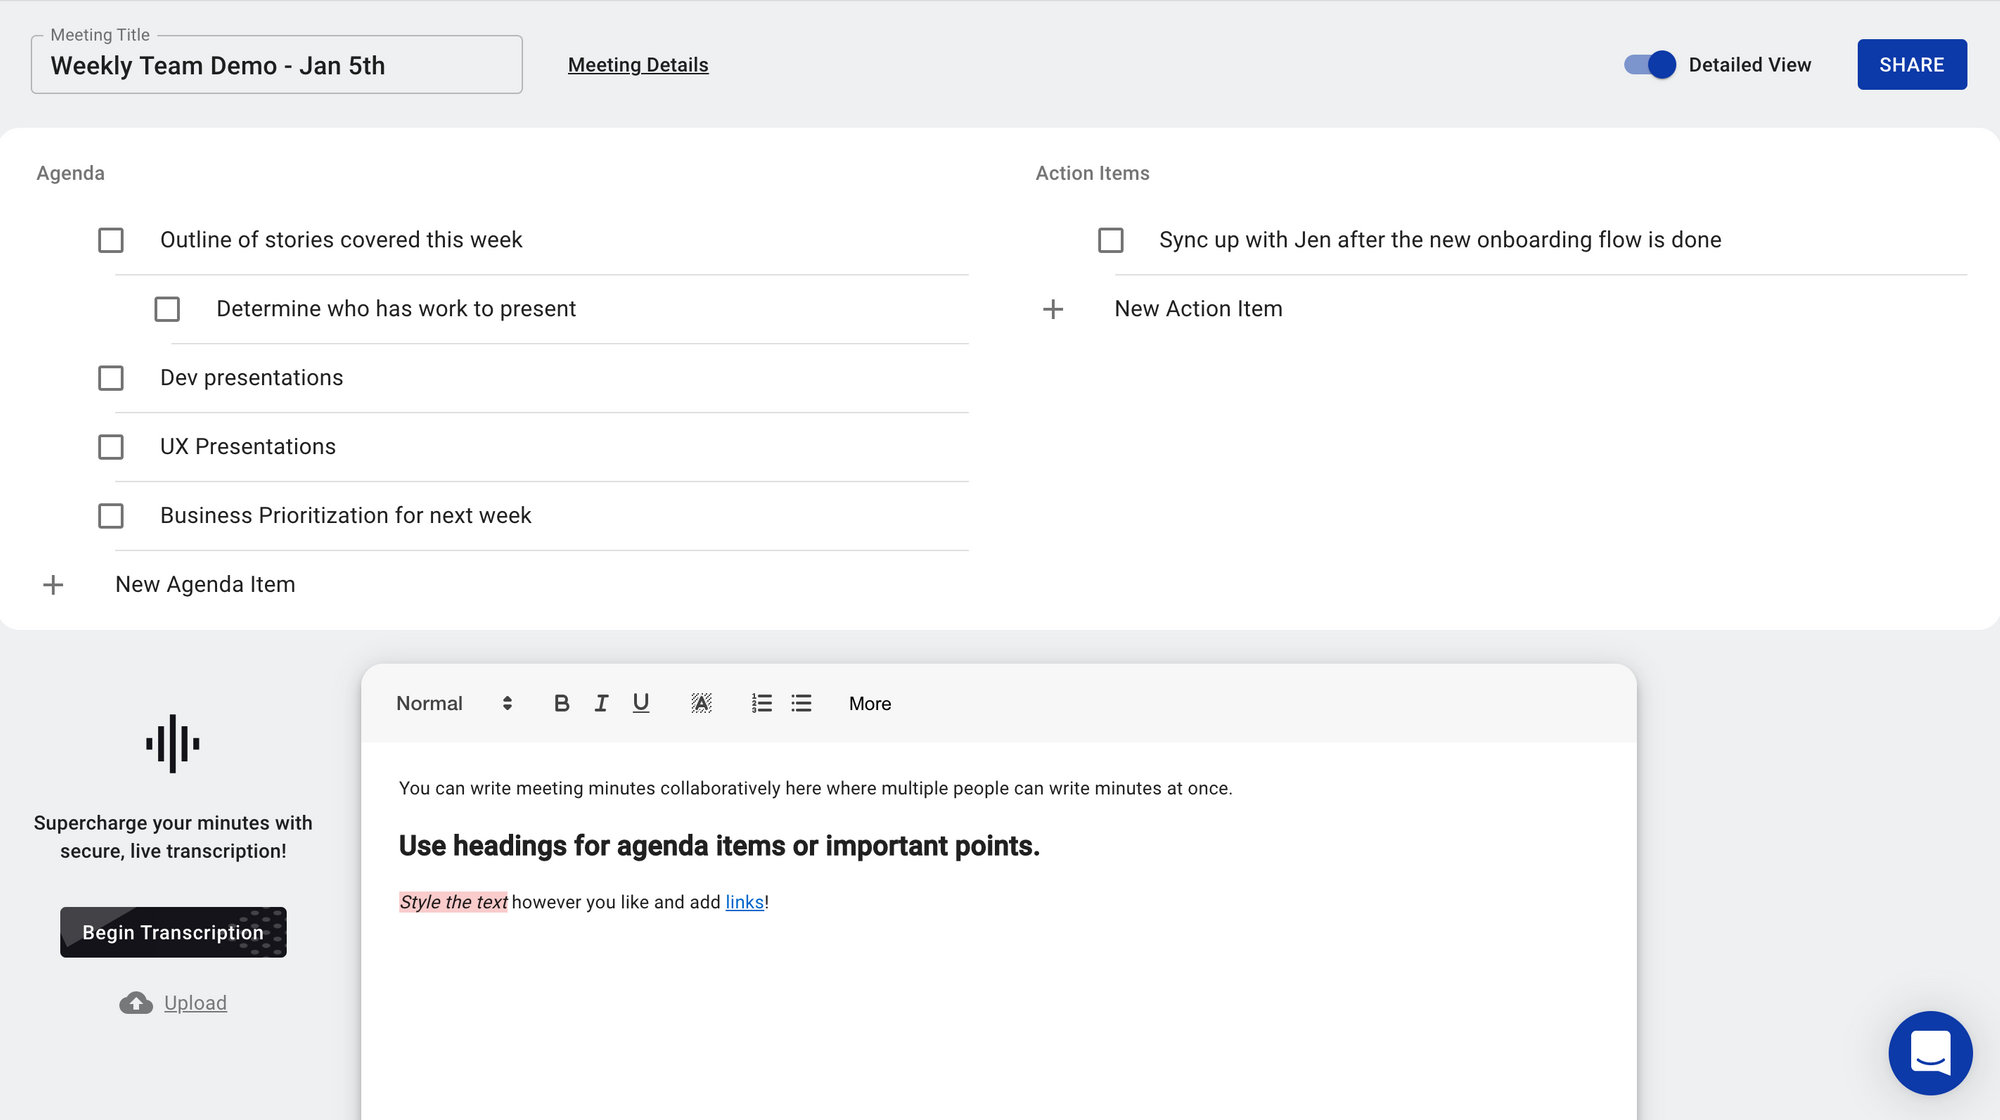
As a result, you have a dedicated action item space which allows you to create and modify action items by providing the option to add additional information, a deadline, and assignment to a specific team member.
First, write your action item of choice as shown below.
Next, click on your action item and a dialogue box will open up with options. Here you can choose a set due date, and enter in any relevant comments.

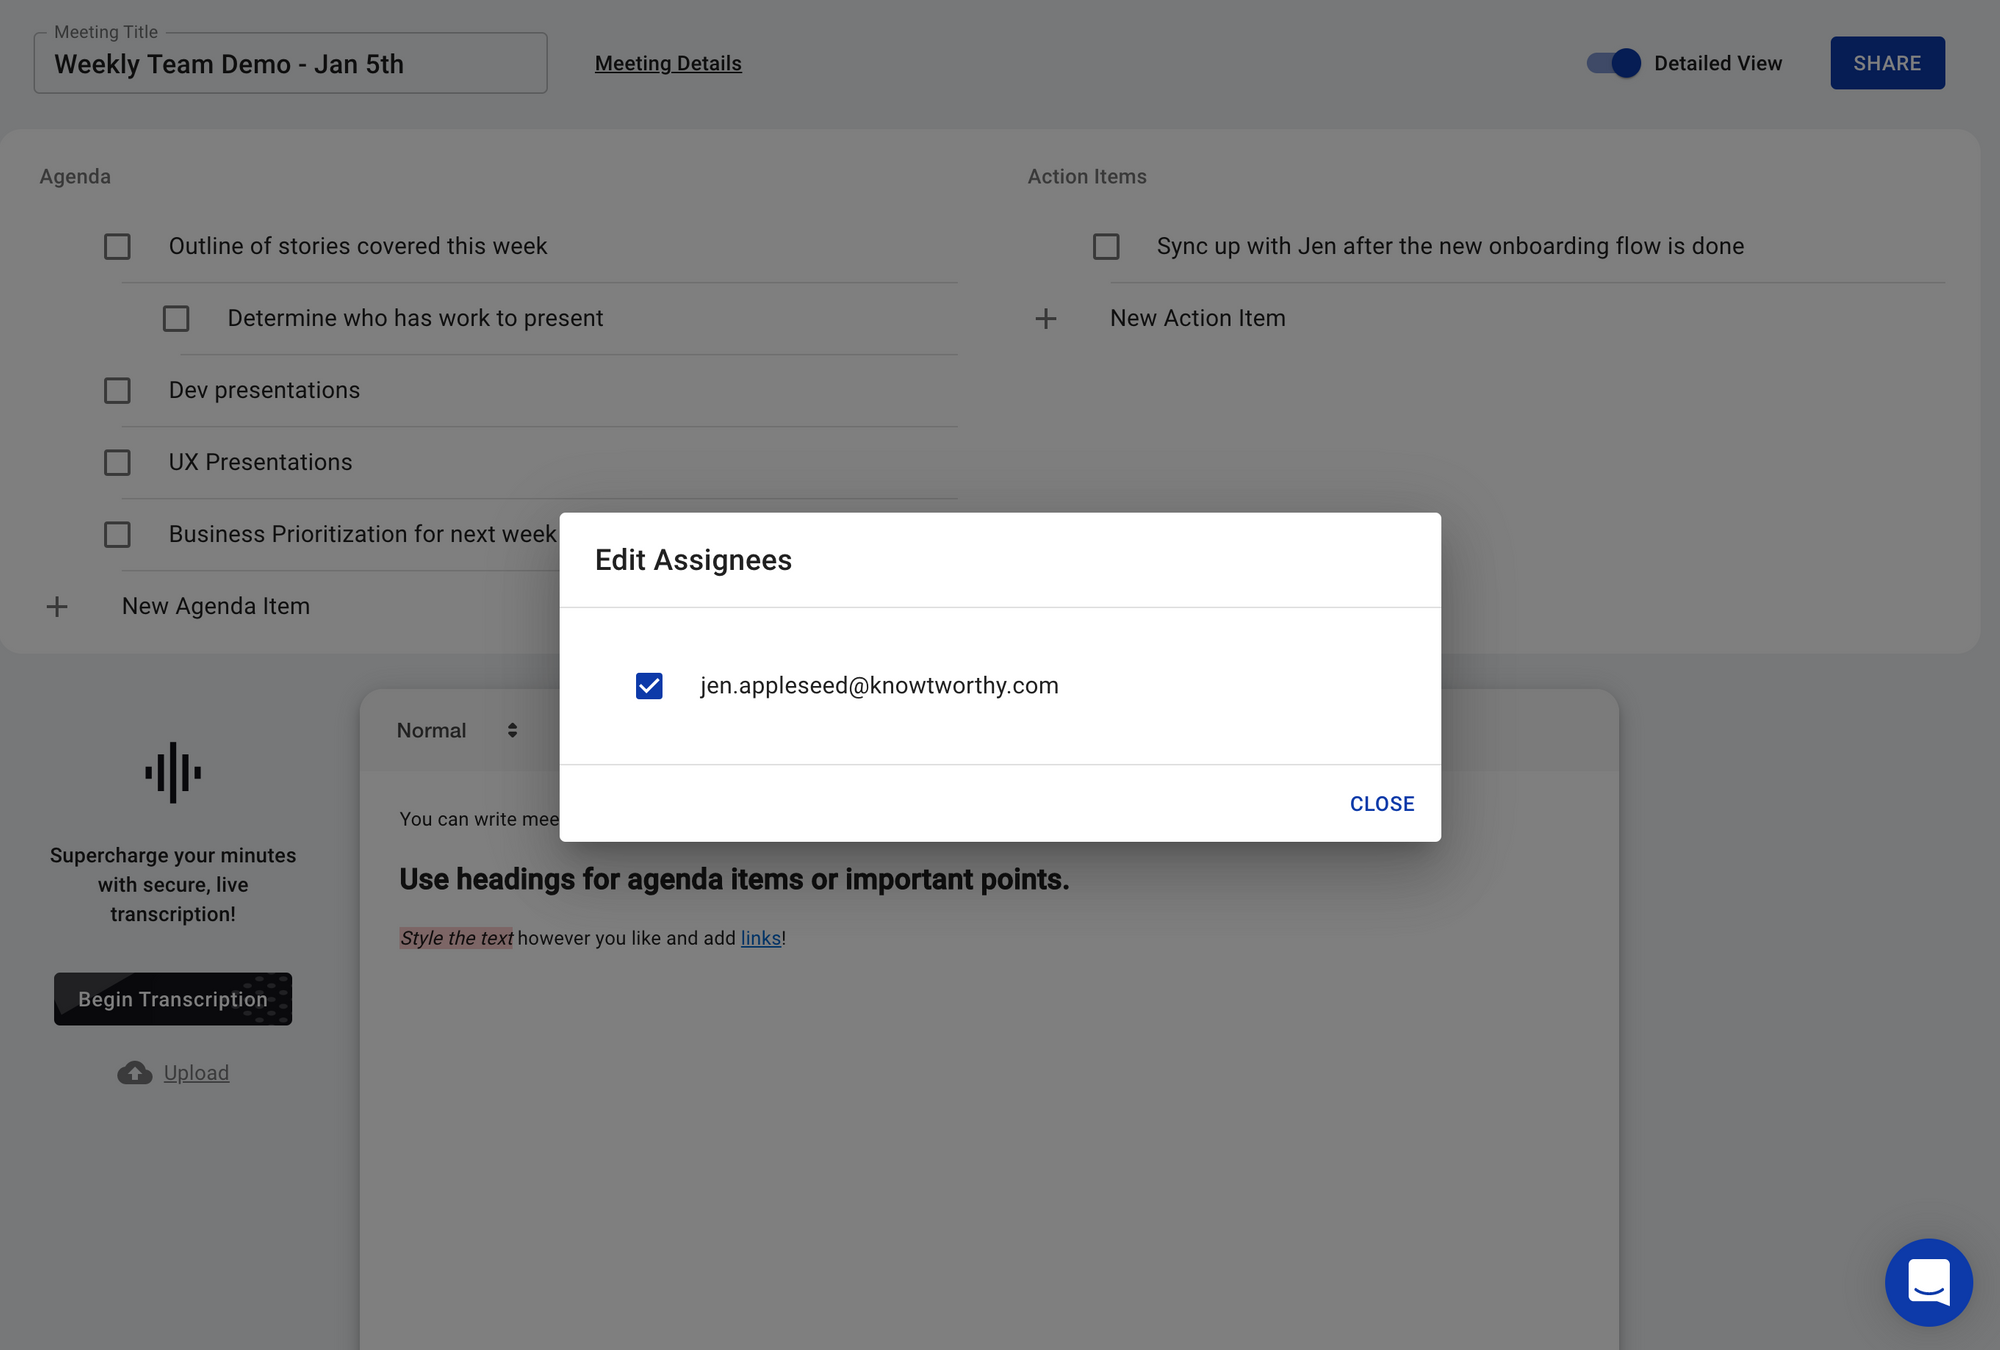
Finally, you can assign the action item by clicking "Edit Assignees" and selecting who the action item is attributed to. This person will now see this action item in their inbox, and if you are the admin of the organization, you can see these outstanding action items in your Inbox, split up by teams, as well.
Follow these steps and you'll be well on your way to making the most of your meetings with Knowtworthy! If you have any comments or questions, you can leave them on the dedicated community discussion post for this article found here.